How to take a screenshot on your Mac
Title : How to take a screenshot on your Mac
link : How to take a screenshot on your Mac
Take a screenshot of your whole screen
Press Command (?)-Shift-3.
Find the screenshot as a .png file on your desktop.

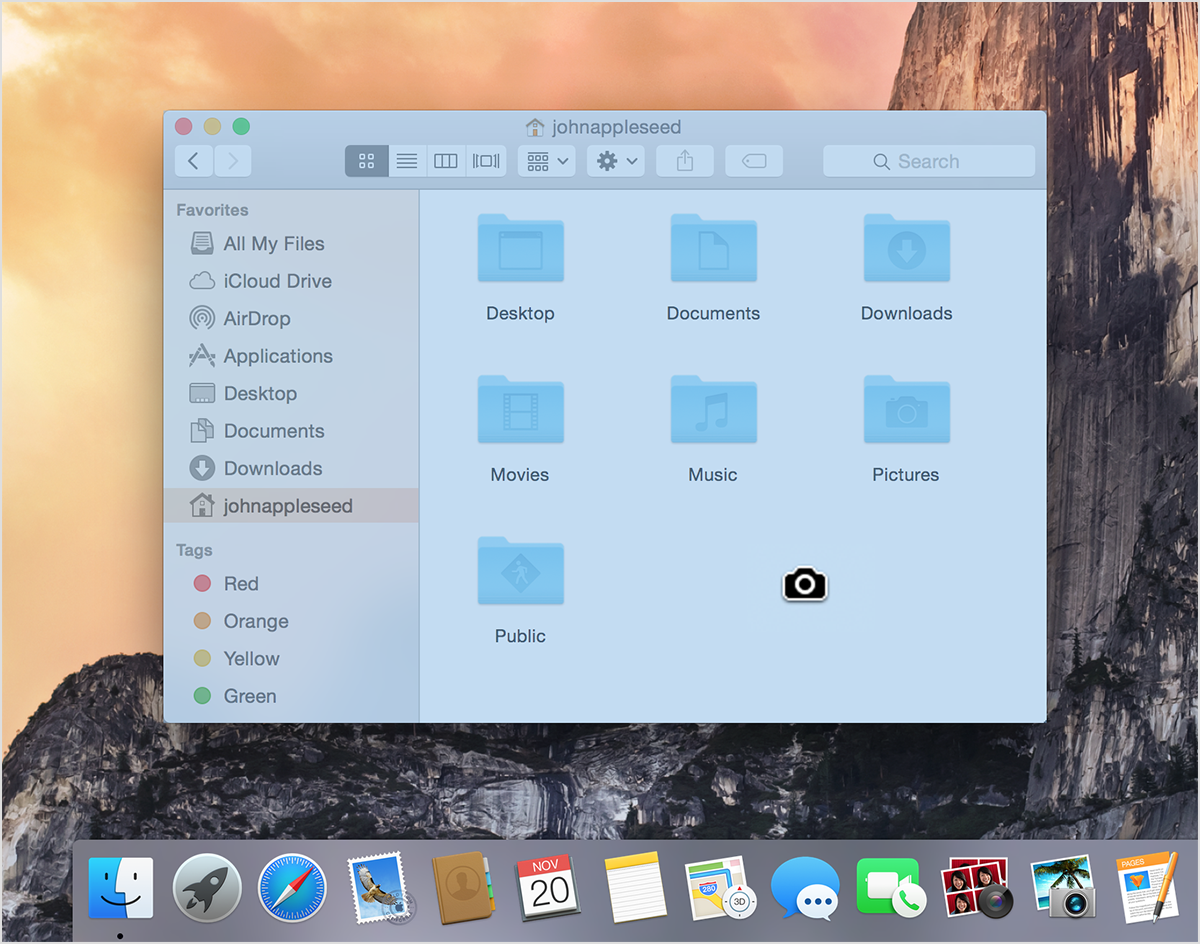
Take a screenshot of part of your screen
1. Press Command-Shift-4. The pointer changes to a crosshair pointer.
2. Move the crosshair pointer to where you want to start the screenshot.
3. Drag to select an area. While dragging, you can hold the Shift key, Option key, or Space bar to change the way the selection moves.
4. When you've selected the area you want, release your mouse or trackpad button. To cancel, press the Escape (esc) key before you release the button.
5. Find the screenshot as a .png file on your desktop.
thanks.
thanks.
That's an article How to take a screenshot on your Mac
Fine for NewsOfTech Article How to take a screenshot on your Mac
This time, hopefully can benefit for you and any people all.
Well, see you in other article from NewsOfTech postings.